So, thanks to my new sewing machine and a little research online, I found a tutorial for an oil cloth seat cover. There are at least two stores downtown that sell oilcloth so I made a little trip to see what my options were. What I found out was that oilcloth patterns are very fruity, and I mean that literally.


Luckily the hardware store also had plain red oilcloth. This was perfect since my bicycle is red. I purchased a half yard figuring that would be plenty for one cover, but might be enough for two or three. It also gave me the extra in case I messed up the first one.
I got out my giant pad of Newsprint figuring that it would be good for pattern pieces. I grabbed one of my bicycle seats that was similar in size to the one on my road bike. This one was the original seat for my mountain bike. I didn't want to deal with taking my seat off and messing up my fitting by not putting the seat back on in the correct position. Anyways, I traced my seat and then added a half in all the way around for the seam allowance. I also created a small pattern piece for the side of the cover that was four inches wide. In order to find out how long it needed to be I needed to get out the sewing tape measure and determine the circumference. Mine was 33 inches, so I added an extra inch just in case.


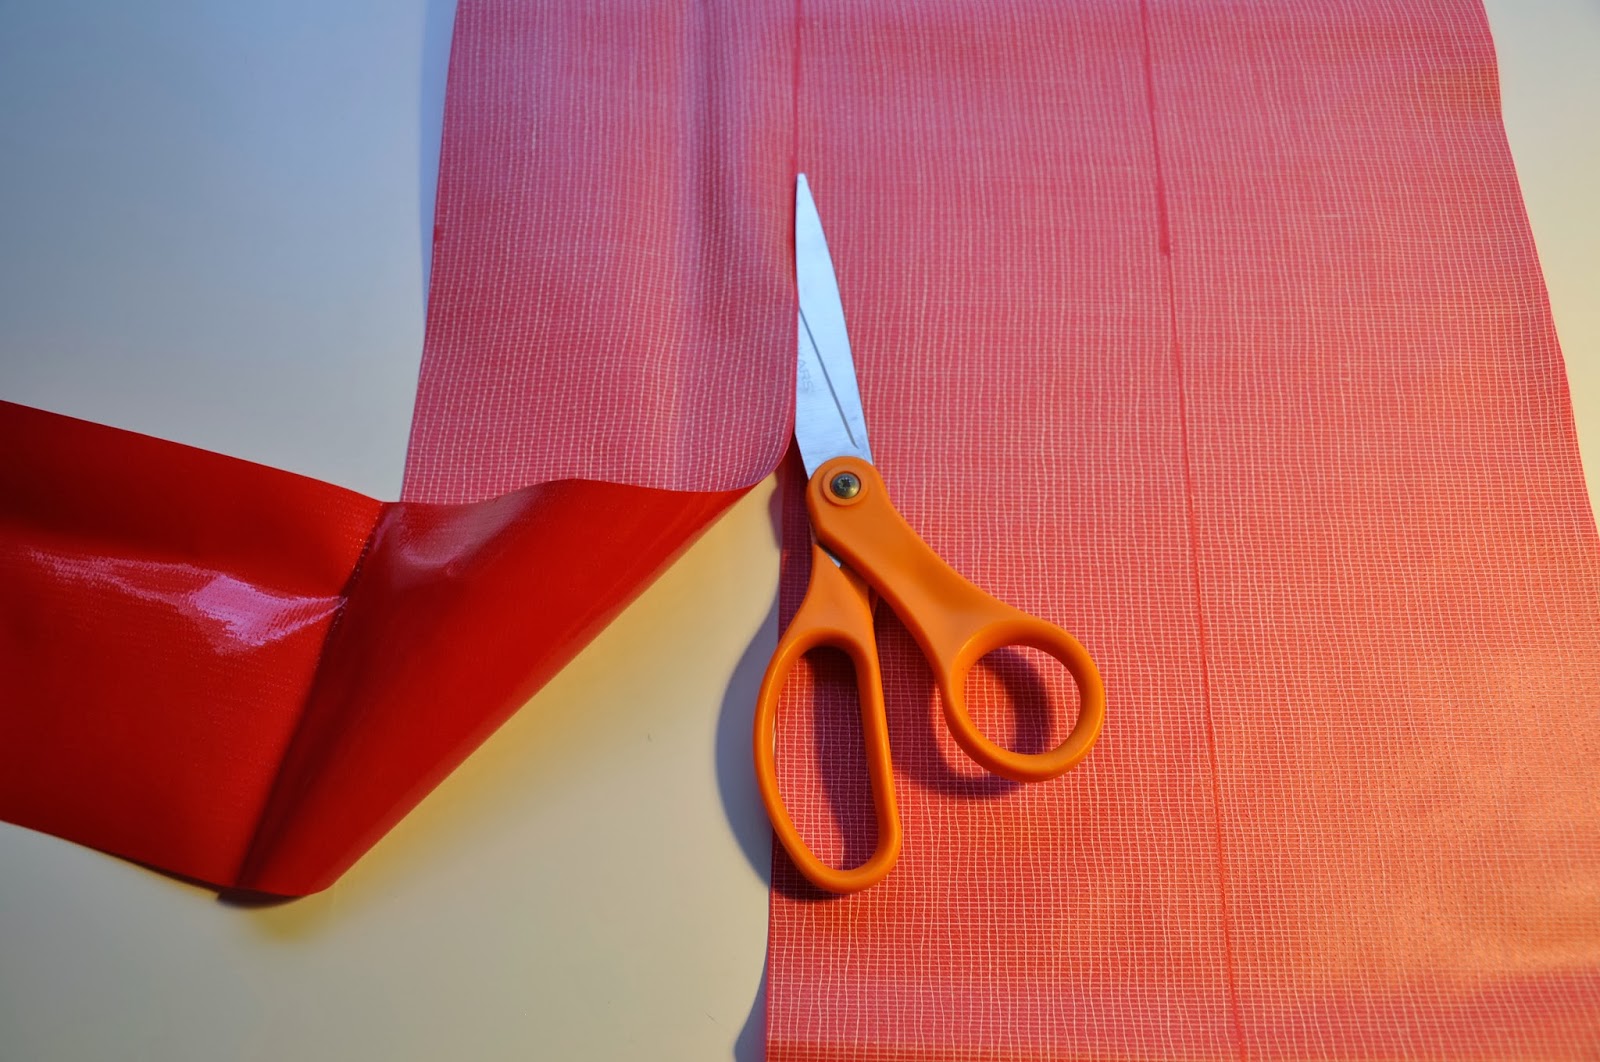
Next, I measured out and traced my pieces onto the backside of the oilcloth. I managed to get three sets of pieces on my half yard with extra material to spare. (I'm sure i'll come up with another bike related project for the remaining fabric) I used a red Sharpie so that the ink wouldn't show so much if it bleed through, which worked out pretty well.

Once I had all my pieces cut out, the first thing to do was create the little casing for the elastic. I forgot to take a photo of this, but all I did was fold over 3/4th inch on the long edge of the side piece and sew along it making sure that there is enough room for the elastic. I used a 3/8th inch wide elastic. When I make the other ones I think that I will fold over 1 inch to give more room for the elastic (it was a little tight getting it in there). After that was done, it was time to sew together the seat and the side piece. I started in the middle of the back of the seat and made sure to leave about a half inch extra on the side piece so that I could sew the ends together later. This was a little tricky because of the curves of the seat as well as the fact that the oilcloth doesn't really want to bend and gather. I managed to get it shaped properly and didn't do to bad of a job with sewing evenly around the entire thing.

After the side piece was completely attached I sewed the ends of the side panel together but left the top inch unsewn so that I could still get the elastic in. I cut a piece of elastic that was about 6-8 inches shorter than my circumference. I attached a safety pin to one end of the elastic and fed it through the casing. This part can be tricky as well. My first attempt didn't go so well. About half way through the safety pin pulled off the elastic so I had to start over. The second time, about an inch from getting it all the way through, the pin opened up and stabbed me in the thumb. In the end, I was able to get the elastic all the way through the piece and gathered properly. I sewed the elastic together and then finished sewing the ends of the side piece together.

The sewing is complete. Time to turn the right side out and test it out.


Looks like it should work pretty well. It fits snugly enough without it being too difficult to get on and off. I usually don't leave my bike outside so I may just have to test it out with a spray bottle. I also realized that the front of the cover is a little longer than it needs to be, but that's okay because if I make more of these and possible sell them to some of my friends it will hopefully make it able to fit on a variety of seat sizes.
All in all, another successful bicycle related craft project!
No comments:
Post a Comment